Every long Minecraft world reaches the same point: a wall of chests labeled "stuff", a mining trip that ends in ten minutes of sorting, and a farm whose output never quite gets put away. An automatic storage warehouse fixes that. You dump everything into one chest, and the game sorts iron, stone, crops and mob drops into the right place on its own, using only vanilla hoppers, comparators and redstone.
This guide shows how to plan, build, expand and fix a no-mod storage warehouse, from a 6-item starter wall to a mega base with bulk shulker lanes. Numbers and behavior follow Java Edition 1.21 and the Minecraft Wiki unless noted. Bedrock Edition works on the same ideas, but its redstone and sorter designs differ, so copy layouts built for your edition. If you want to budget the room before you collect a single iron ingot, open the Storage System Planner next to this page.
What is an automatic storage warehouse in Minecraft?
An automatic storage warehouse is a set of item-moving machines that takes mixed items from one place and delivers each type to its own container. It is not one block or one circuit; it is a chain of simple modules, and each one can be built and tested on its own.
- Input station: one or more chests where you dump items, plus collection points for farms.
- Transport line: hoppers, water streams or hopper minecarts that carry items past the sorters.
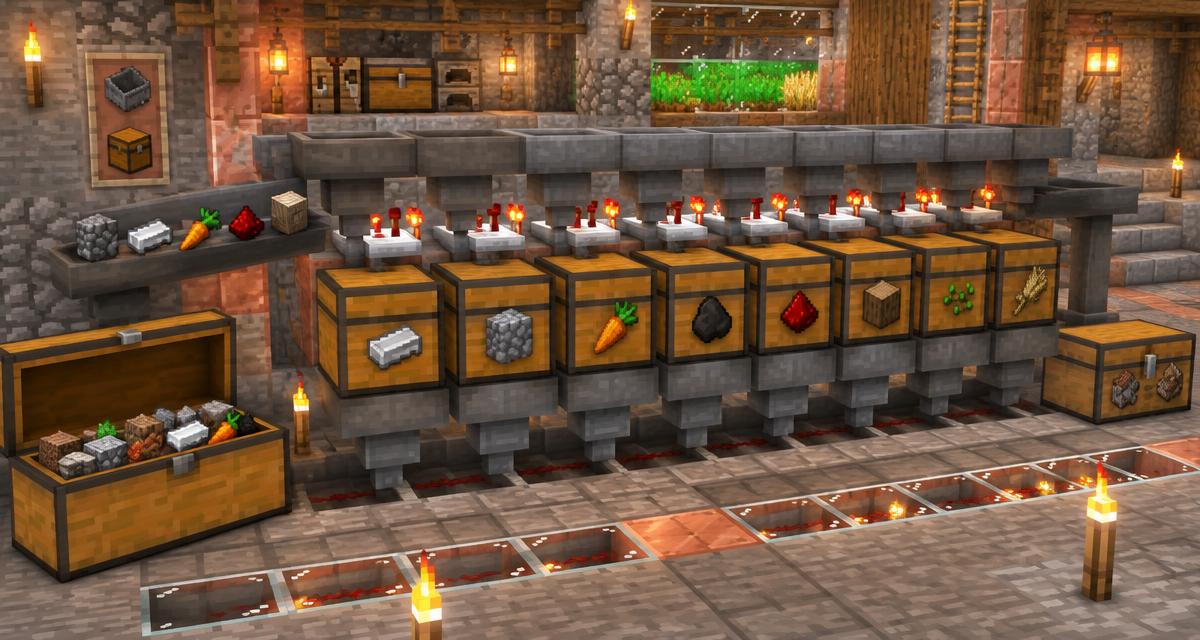
- Sorter wall: a row of filter modules, each tuned to catch one item type.
- Storage banks: the chests, barrels or shulker boxes that hold each sorted item.
- Overflow and unsorted chests: a final catch-all for non-stackables and anything without a filter.
- Optional extras: shulker box loaders for bulk items, a super smelter at the input and an item retrieval system.
What you need before you start
The single biggest cost of any automatic storage system is iron. A hopper is crafted from five iron ingots and a chest, and almost every module needs several of them. A comparator needs three stone, three redstone torches and one nether quartz, so you also need a Nether trip.
- Hoppers: about three per sorter module, plus one for every block of hopper line and every chained storage chest.
- Comparators: one per sorter module, which means one nether quartz each.
- Redstone dust and redstone torches: a few per module, depending on the circuit you choose.
- Chests or barrels: at least one double chest per item type, plus input and overflow chests.
- Building blocks: a solid, non-redstone block such as stone bricks for the circuit and walls; avoid glass or slabs where the circuit needs a solid block.
- Renamed filler items: four per module, renamed in an anvil to a name you will never use for real items.
- Optional: water buckets and packed or blue ice for a water-stream line, rails and minecarts with hoppers for fast input, shulker boxes and dispensers for bulk storage.
Plan the layout before you place a hopper
Planning saves more time than any redstone trick. Decide how many items you will sort, how much of each you expect, and how items will arrive. Then sketch a layout where the input, sorter wall and storage sit in a straight line with room to walk behind the redstone for repairs.
How much storage does each item need?
- A single chest has 27 slots, which is 1,728 items of a 64-stack item.
- A double chest has 54 slots, which is 3,456 items of a 64-stack item.
- A barrel also has 27 slots, and unlike a chest it still opens with a solid block on top of it, which makes barrels great for compact walls.
- A shulker box holds 27 stacks, 1,728 items, and keeps them when broken, so a double chest of full shulker boxes stores 93,312 items of one type.
Give everyday items such as cobblestone, iron and food one double chest each at first, and plan bulk lanes for farm output like bone meal, string or kelp. The Bundle Capacity Planner helps when you mix stack sizes, and the Item Sorter Designer gives a full material list for a chosen number of lanes.
Which item transport method should you use?
- Hopper line: simple, compact and reliable, but limited to 2.5 items per second and each hopper adds to server load.
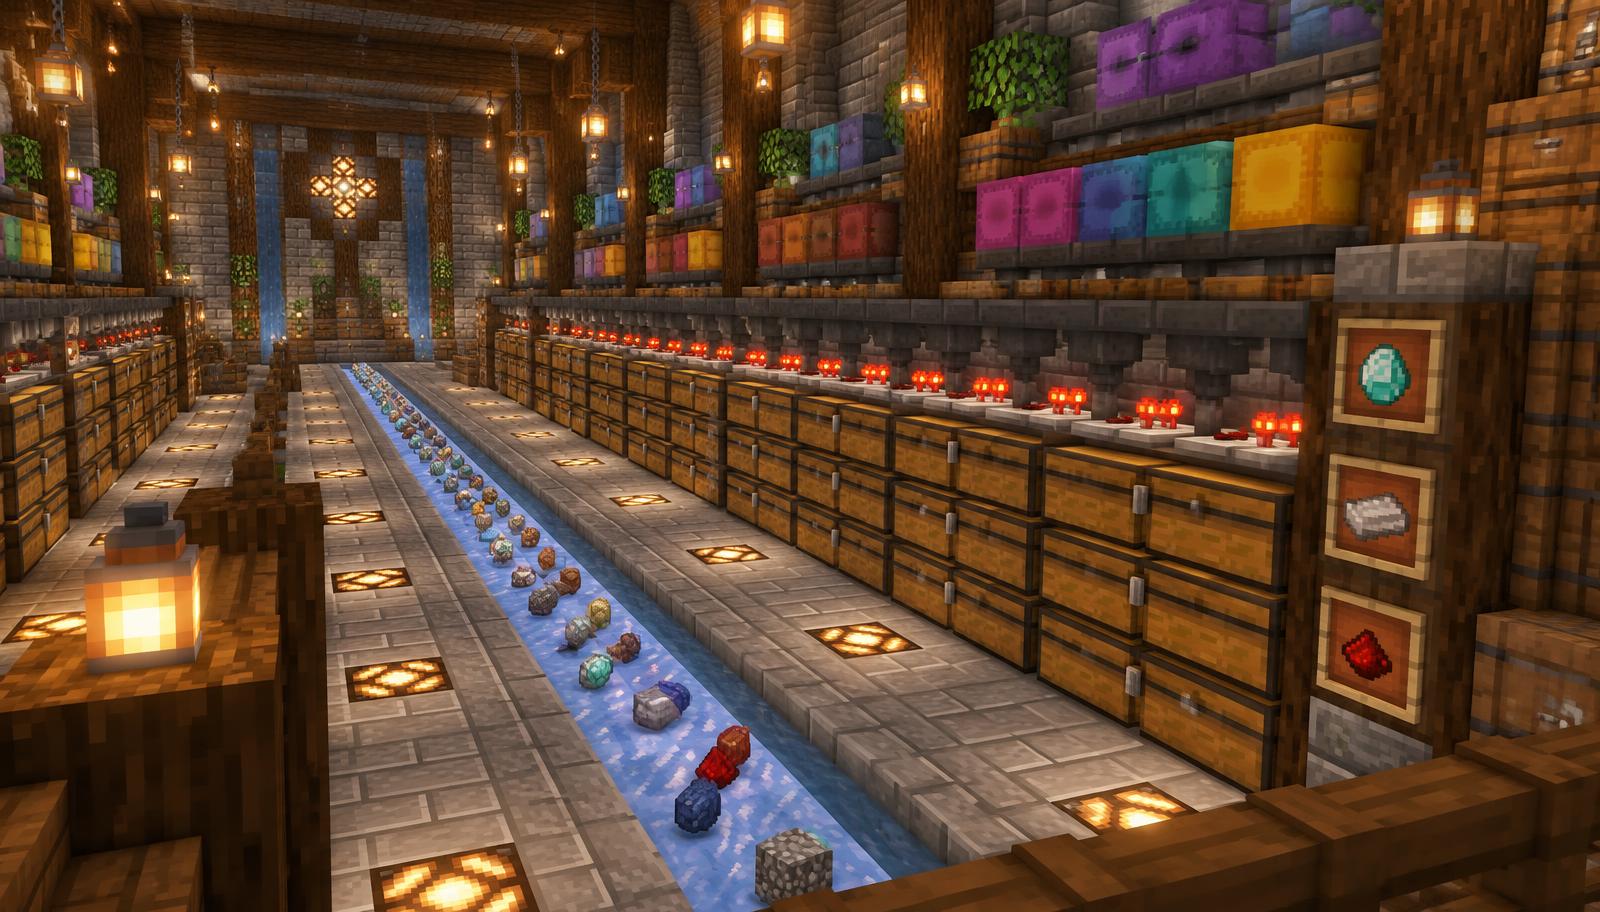
- Water stream: water flows up to 7 blocks from its source on flat ground, so add a new source or a drop every 8 blocks. Packed or blue ice under the stream keeps items moving quickly. Streams carry items to the top of a hopper line or sorter wall.
- Hopper minecart: a minecart with hopper on rails under a chest pulls items much faster than a normal hopper, about 20 items per second in Java and 10 in Bedrock, so it is the standard way to empty a big input chest quickly.
How to build an automatic storage warehouse step by step
Step 1: Choose the site and check chunk borders
Hoppers and redstone only run in loaded chunks. Build the warehouse close to your main base, never thousands of blocks away. In Java Edition, press F3 and G to show chunk borders and try to keep each sorter module and its storage inside the same chunk, or at least away from a border, so half a module never stops while the rest keeps running. Dig or build a room about 5 blocks tall so you have space for the input line, the sorter circuit and two layers of chests, plus a maintenance corridor behind the redstone.
Step 2: Build the input station
Place a double chest where you will unload after mining. Point a hopper out of the bottom of it, or for faster unloading run a short rail under the chest with a minecart with hopper, then let a normal hopper below the rail pull items out of the cart. Add a second chest or hopper opening where farms will feed in. Keep the input at the start of the line so every item passes every filter.
Step 3: Run the transport line over the sorter wall
Build a straight line of hoppers, each pointing into the next, along the top of where the sorter wall will go. Place each hopper while looking at the side of the previous one so its narrow spout points the right way. If you prefer a water stream, run the water over the top of the hopper line instead; items floating over a hopper are pulled down into it. End the line in a chest so items never spill onto the floor.
Step 4: Build one sorter module and test it
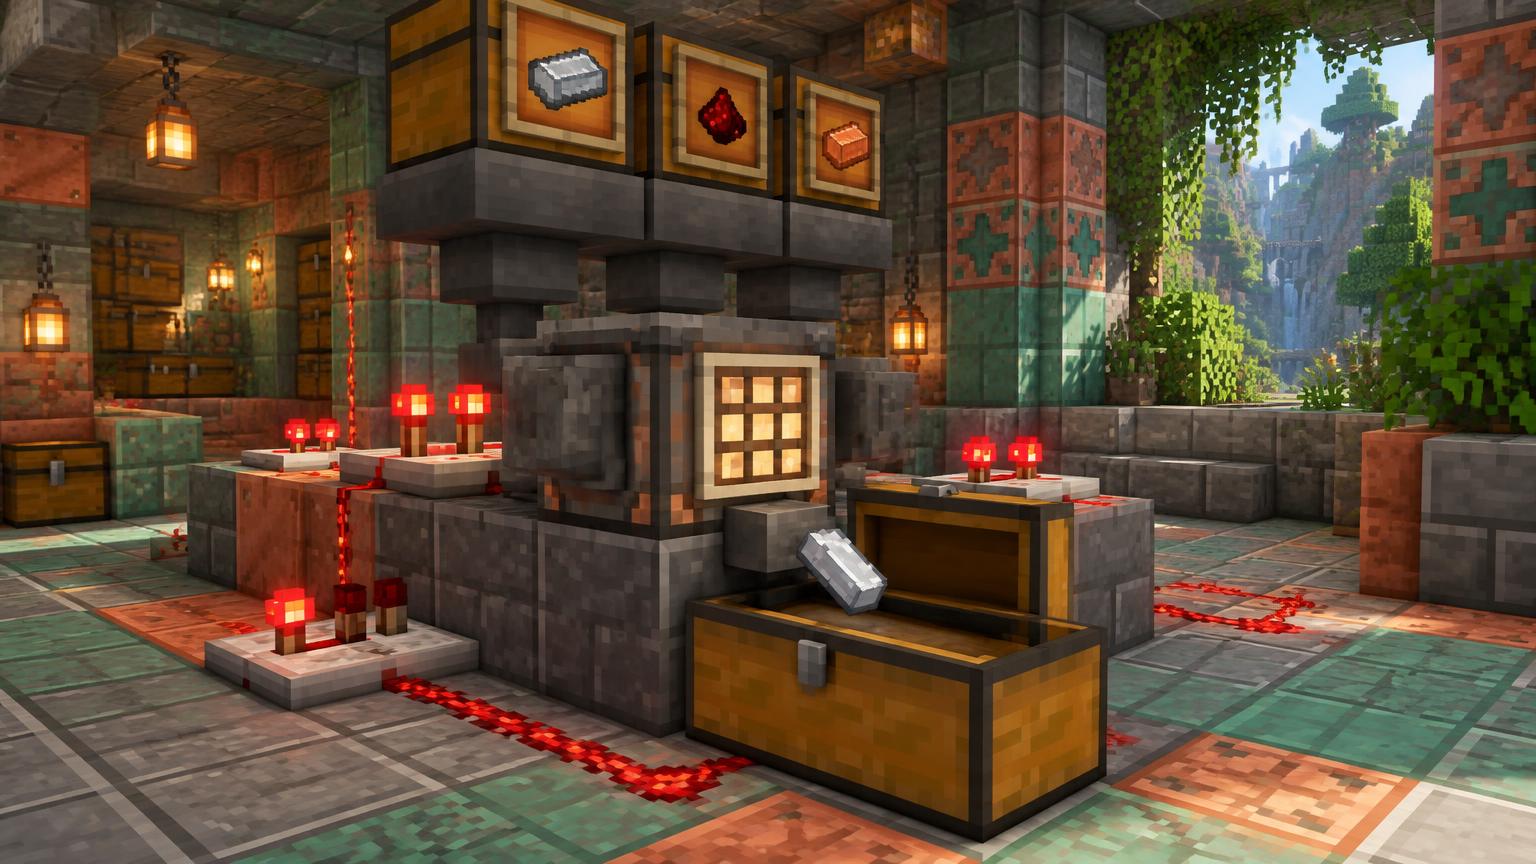
The heart of the warehouse is the item filter, explained in detail in our item sorter build guide. In short, each module has three hoppers stacked in a column: a hopper in the input line, a filter hopper below it and an extraction hopper below that, pointing into a storage chest.
- Point the filter hopper sideways into a solid block or into the next module's circuit block, never into a chest or into the line.
- Put 41 of the target item in the filter hopper's first slot and one renamed filler item in each of the other four slots.
- Place a comparator facing away from the filter hopper so it reads the hopper's fill level.
- Wire the comparator output through your chosen overflow-protected circuit so it normally keeps the extraction hopper locked, and only unlocks it when one extra target item enters the filter.
- Drop a few target items and a few different items into the input. Target items should land in the storage chest, others should continue down the line, and the filter should still hold exactly 41 items and four fillers.
Step 5: Tile the sorter wall
Once one module works, copy it side by side for every item type. Most tileable sorter designs are one block wide, but a double chest is two blocks wide, so either give each module a single chest, alternate modules so their chests sit on different layers, or send each module's output down into its own storage column. Use an overflow-protected tileable design: when one storage chest fills up, a basic filter can break and start pulling items into the neighbor's chest. Sketch the wiring in the Redstone Circuit Designer before you build ten copies.
Step 6: Add storage banks behind each filter
One chest per item fills quickly. To expand, point the extraction hopper into a chest, then put a hopper under that chest pointing into a second chest below it, and repeat. Items cascade down, filling the lowest chest first, and you can grab them from any level. Two stacked double chests per item give 6,912 items of storage per lane. Remember that a chest will not open with a solid block directly on top of it, so either leave a gap, use barrels for compact layers, or put the hopper chain behind the chests.
Step 7: Add overflow and an unsorted chest
Everything that matches no filter, plus non-stackable tools, armor and enchanted books, travels to the end of the line. Put a large overflow storage there: a column of chained double chests or a hopper line into several chests. Label it clearly. Items that stack to 16, such as ender pearls, eggs and snowballs, and non-stackables need different filter designs, so most players sort them by hand from the overflow at first.
Step 8: Add bulk lanes and a shulker box loader
For high-volume items, a shulker box loader turns a full chest wall into portable storage. A hopper fills a shulker box, a comparator watches it, and when the box is full the machine locks the input, removes the full box and places an empty one from a dispenser, then unlocks the input. In Java Edition a piston breaks a shulker box when it pushes it, and the box drops as an item that keeps its contents; in Bedrock shulker boxes can be pushed instead, so loaders there use different designs. The Minecraft Wiki's shulker box storage tutorial lists several proven loaders and unloaders.
Step 9: Connect farms and a super smelter
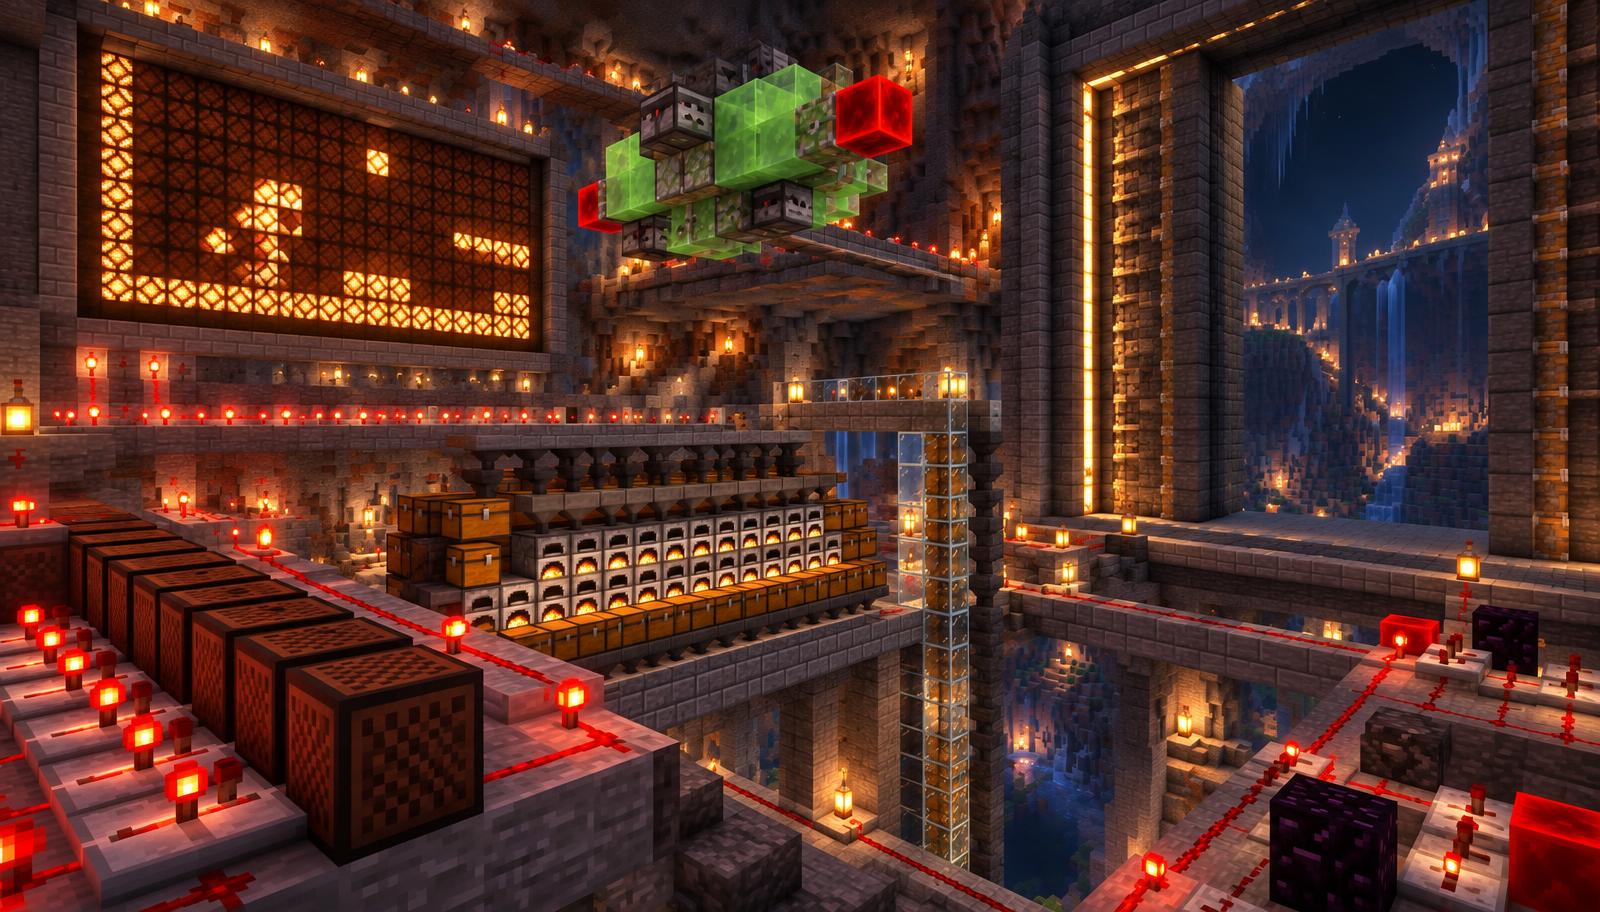
The warehouse becomes truly automatic when farms feed it directly. Run a hopper line or water stream from a mob farm, iron farm or crop farm into the input, or into a dedicated bulk lane so one busy farm does not slow down your mining unload. Route raw ore and food through a super smelter on the way in, so iron ingots and cooked food arrive sorted. Our mob farm guide and farm troubleshooting guide cover reliable farm outputs, and the Crafter guide shows how to auto-craft iron and other blocks from sorted storage.
Step 10: Add a simple item retrieval system
Finding items is part of storage. The simplest retrieval method is a labeled wall: place item frames with the sorted item on each chest. For a button-based system, put a hopper under the bottom storage chest of a lane, keep it locked with a lever or redstone torch, and unlock it to drain items into a hopper line that ends at a collection chest near the entrance. More advanced vanilla search systems, sometimes called storage search engines, exist on the Minecraft Wiki, but they take far more space and redstone.
How fast is a hopper-based storage system?
Speed matters once farms feed the warehouse. A normal hopper moves one item every 8 game ticks. At the normal 20 ticks per second that is 2.5 items per second, 150 items per minute, or about 9,000 items per hour. Because a classic sorter wall pulls items from one hopper line, that line sets the speed of the whole system.
- Unloading a full double chest (3,456 items) through one hopper line takes about 23 minutes.
- A minecart with hopper pulls from a container above it at about 20 items per second in Java and 10 per second in Bedrock.
- Parallel lines multiply throughput; adding more hoppers to one line in a row only adds delay, not speed.
- Server lag lowers the tick rate, which slows every hopper at the same rate.
Use the Redstone Clock Calculator to convert hopper transfers and repeater delays into seconds when you time a loader or retrieval pulse.
Java vs Bedrock storage systems
- Filters: Java designs commonly use the 41-item filter. Bedrock sorters work on the same comparator idea, but many designs use different item counts and circuits, so follow a Bedrock-tested design.
- Redstone: Java has quasi-connectivity and specific piston timing; Bedrock does not, so circuits copied between editions often fail.
- Hopper minecarts: about 20 items per second in Java and 10 in Bedrock.
- Shulker boxes: broken by pistons in Java, pushable in Bedrock, which changes how loaders and unloaders work.
- Chunk loading: Java spawn chunks are set by the spawnChunkRadius game rule, which defaults to 2 since 1.20.5; Bedrock uses ticking areas and simulation distance instead.
How to keep a big storage warehouse lag friendly
Large hopper walls are one of the most common causes of server lag, especially on shared servers. A few habits keep a warehouse fast.
- Use water streams or ice for long transport and keep hopper lines short.
- Keep idle hoppers locked: a locked hopper does not try to move items.
- Do not leave thousands of dropped items floating in streams or on the floor; always end lines in containers.
- Avoid fast redstone clocks that run all the time; use comparator-triggered pulses instead.
- Check the server's tick health after big expansions. Premium members can find what is lagging with the Server Lag Diagnoser.
Troubleshooting: why is my automatic storage system not working?
- Everything goes to overflow: the filter holds the wrong item, the wrong count, or the input line points around the filter hopper instead of over it.
- Filter items vanish: the extraction hopper is permanently unlocked, or the filter hopper points into a container. Check the lock circuit and hopper spouts.
- Items go into a neighbor's chest: redstone from one module powers the next. Switch to an overflow-protected, tileable design and add a solid block between circuits where the design calls for it.
- The system stops when a chest is full: add more chained storage, or a full-chest indicator using a comparator and a redstone lamp.
- Unstackables jam the line: they cannot be filtered by the 41-item module, so make sure the line ends in an overflow chest.
- Part of the wall stops: the warehouse crosses a chunk border or sits outside simulation distance.
- Bedrock design not working: Java circuits often fail in Bedrock and the reverse is also true; rebuild with an edition-specific design.
Storage warehouse size cheat sheet
- Starter wall: 6 items, 18 hoppers in modules, about 90 iron ingots plus the line, one double chest per item.
- Mid-game warehouse: 20 to 30 items, chained double chests per item, overflow column, hopper minecart input.
- Mega base: 50 or more items, separate bulk lanes for farms, shulker box loaders, a super smelter at the input and a retrieval system.
Want a ready-made shell for it? The Underground Bunker blueprint and the survival base blueprints leave room for a storage hall, and our base ideas guide shows where a warehouse fits in a larger base.
Sources and further reading
- Minecraft.net, Hopper guide: https://www.minecraft.net/en-us/article/hopper
- Minecraft.net, Taking Inventory: Redstone Comparator: https://www.minecraft.net/en-us/article/taking-inventory--redstone-comparator
- Minecraft Wiki, Hopper: https://minecraft.wiki/w/Hopper
- Minecraft Wiki, Tutorial: Hopper (item sorter): https://minecraft.wiki/w/Tutorial:Hopper
- Minecraft Wiki, Redstone Comparator: https://minecraft.wiki/w/Redstone_Comparator
- Minecraft Wiki, Minecart with Hopper: https://minecraft.wiki/w/Minecart_with_Hopper
- Minecraft Wiki, Shulker Box: https://minecraft.wiki/w/Shulker_Box
- Minecraft Wiki, Tutorial: Shulker box storage: https://minecraft.wiki/w/Tutorial:Shulker_box_storage
- Minecraft Wiki, Chest: https://minecraft.wiki/w/Chest
- Minecraft Wiki, Barrel: https://minecraft.wiki/w/Barrel
- Minecraft Wiki, Chunk: https://minecraft.wiki/w/Chunk
Build a smarter storage warehouse with MineBuildr Premium
A storage warehouse is the machine you will use every single day, so it pays to get it right the first time. MineBuildr Premium gives you the planning tools technical players rely on. Map exact container fill levels to comparator signal strengths for filters, loaders and full-chest alarms with the Comparator Signal Studio. Size the furnace array that feeds your input with the Super Smelter Optimizer. Line your warehouse up with chunk borders using the Chunk Border Planner, and find out which hoppers and entities are slowing your server with the Server Lag Diagnoser.
- Plan every lane, filter and storage bank before you spend hundreds of iron ingots.
- Avoid the classic mistakes: broken filters, overflowing neighbors and machines split across chunks.
- Unlock every Premium tool and Premium blueprint download, with more added over time.
- Cancel any time from your account settings.
Start with the free Storage System Planner, then upgrade when you are ready to build at scale. Compare plans on the pricing page.
Give your next ambitious build a better workflow
A dependable network starts with a clear plan. Keep the surrounding build organized with Premium, from the first terminal room to your next server project.
- Saved Workshop projects to return to as your design evolves
- Priority AI generation for build concepts and material planning
- Supported schematic and HD / 4K exports
- Advanced server tools for configuration and permissions
Compare current prices and billing options before checkout. Features depend on the tool and export format. Premium does not provide internet connectivity or certify redstone circuits. Core tools remain free. Review the Terms and Refund Policy.