Short answer: a Minecraft farm that is not working is usually failing for one of five reasons. The chunks are not loaded, the spawning or growth conditions are wrong, the collection system is clogged, the design was built for a different edition or version, or the server settings restrict it. Work through the checklist below in order and most farms can be repaired without starting over.
How to troubleshoot any Minecraft farm in 5 steps
- Confirm your edition and version match the design you copied.
- Check that the farm is inside your simulation distance and difficulty is not Peaceful for mob farms.
- Test the core mechanic alone: spawning, growing, villager panic or redstone timing.
- Follow the items from spawn point to storage and watch where they stop.
- Compare your build with the original design block by block, especially water, slabs and light sources.
20 common Minecraft farm problems and how to fix them
1. The farm is in an unloaded or unsimulated chunk
Almost every automatic farm depends on game ticks. If you walk away, the chunks around the farm stop being simulated: crops stop receiving random ticks, mobs stop spawning, hoppers stop moving items and redstone freezes mid-cycle.
- Stay within your simulation distance while the farm runs. On servers, ask what the simulation-distance setting is, because it is often lower than render distance.
- Since Java Edition 1.20.5, spawn chunks are controlled by the spawnChunkRadius gamerule, and many servers set it to 0. Older guides that say a farm will run forever in spawn chunks may no longer apply.
- Chunk loaders that rely on game mechanics change between versions. Confirm the method matches your exact version before trusting it.
2. Your AFK spot is the wrong distance from the mob farm
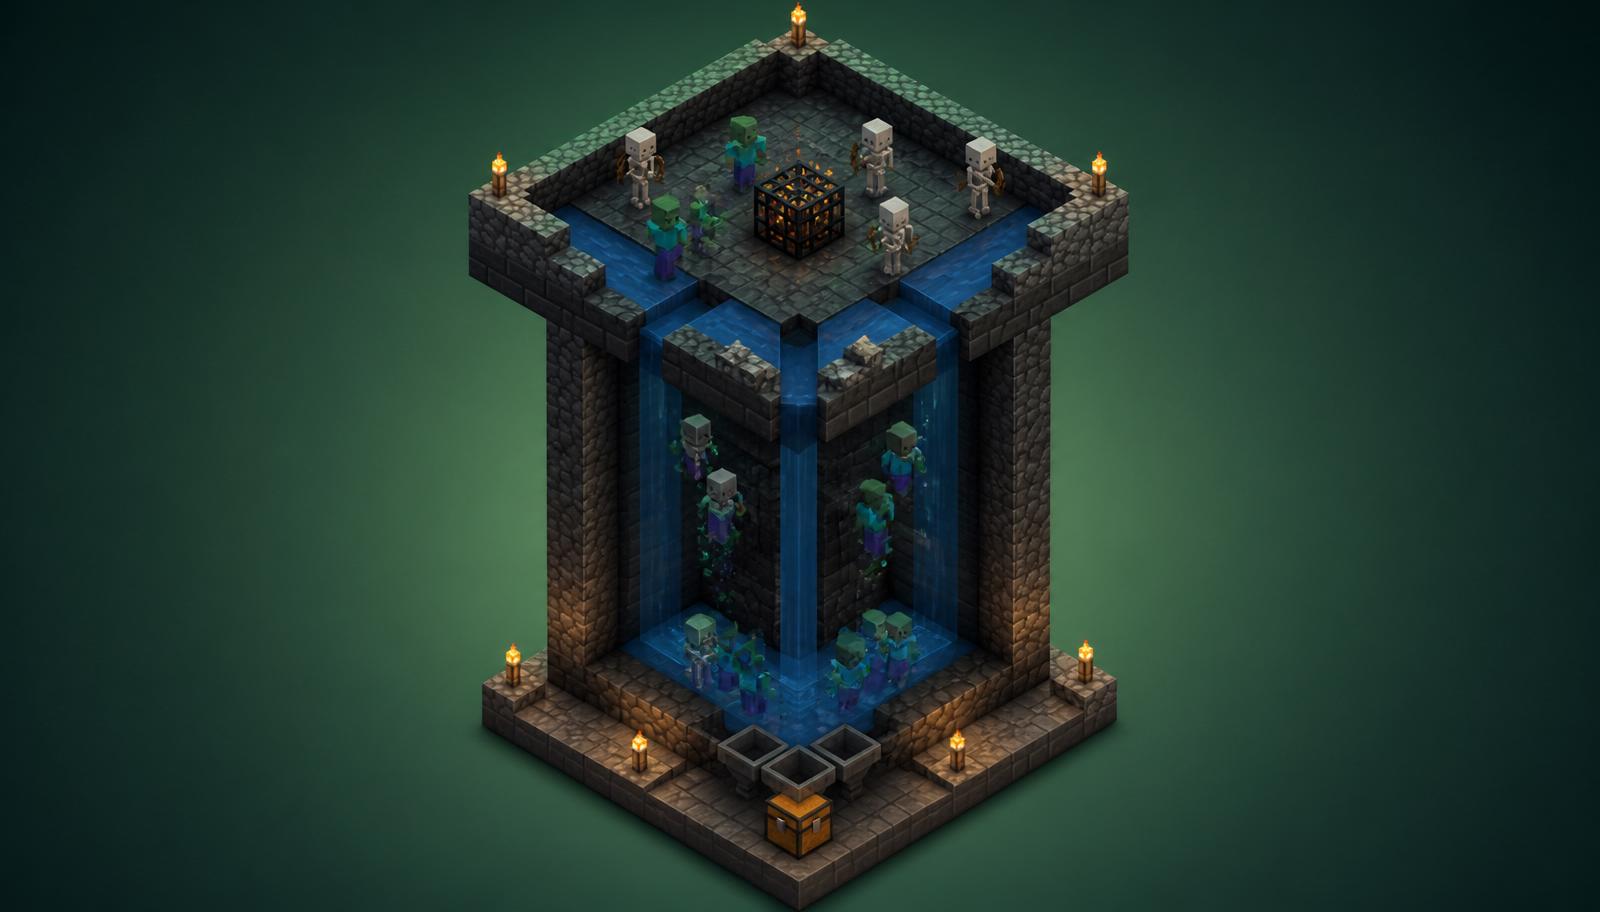
In Java Edition, hostile mobs cannot spawn within 24 blocks of the player, despawn instantly beyond 128 blocks, and may randomly despawn beyond 32 blocks. A spawning platform that sits too close or too far will produce almost nothing.
- Place your AFK spot so every spawning floor is more than 24 and ideally less than 32 blocks away, measured in a sphere around you.
- Bedrock Edition uses different spawn and despawn rules tied to simulation distance, so copy Java distances into Bedrock only when the design says it supports both editions.
- Use the Mob Farm Planner to sketch platform heights before you dig.
3. Caves and other dark spaces are filling the mob cap
Hostile mobs share a cap around each player. Every zombie in an unlit cave below you counts toward it, which leaves no room for spawns in your farm.
- Build mob farms high over the ocean, or light and fill nearby caves.
- Check the game difficulty: on Peaceful, hostile mobs do not spawn naturally at all.
- Avoid leaving tamed, named or persistent mobs nearby if your design counts on them despawning.
4. Light is leaking onto the spawning floor
Since Java Edition 1.18, most hostile mobs only spawn where block light is 0. A single torch, lantern, glowstone block or lava flow nearby can quietly lower production.
- Open the debug screen (F3 on Java) while standing on the spawning floor and check the block light value.
- Roof the platform. Sky light still matters at night and during storms on the surface.
- Remember that some light sources pass through transparent blocks like glass.
5. Mobs cannot spawn on the blocks you used
Hostile mobs need a valid spawning surface. Glass, leaves, bottom slabs, carpets, buttons and other transparent or partial blocks are commonly used to prevent spawns, so using them by accident breaks a farm.
- Use full, solid, opaque blocks such as stone or cobblestone for spawning floors.
- Leave enough vertical space. Endermen need three blocks of headroom, while many designs deliberately use two-block ceilings to exclude them.
- Clear trapdoors, rails and redstone dust from spawning spaces unless the design calls for them.
6. Water streams or kill chambers do not move mobs
Flowing water travels up to seven blocks from its source on flat ground in Java Edition. Long channels without new source blocks or drops stall mobs, and gaps in a drop shaft can let them stick to walls.
- Add source blocks or steps so water keeps flowing to the drop.
- Make sure signs, trapdoors or blocks hold water where you expect it.
- Check fall height. Too short a drop leaves mobs alive; too tall a drop can kill them before a player-kill area, which removes XP and some player-only drops.
7. Mobs despawn before they reach the collection point
Mobs that wander or wait too long can despawn. Slow collection systems reduce rates even when spawning works.
- Move mobs off the platform quickly with water, trapdoors or magma-based designs suitable for your edition.
- A name tag or picked-up item makes a mob persistent, which can clog spawn space.
8. Iron golems are not spawning
Iron golem farms rely on villager behavior. In Java Edition, villagers can summon a golem when they panic or gossip, but the villagers must have slept recently, and panic summoning needs enough villagers detecting a threat together. Bedrock Edition village rules depend more heavily on beds, villagers and village size.
- Give each villager a bed it can reach and let a night pass so they sleep before testing.
- Use at least three villagers in a Java panic design and keep the zombie visible to them.
- Keep each villager linked to the intended beds and workstations; nearby villages can steal claims.
- Check the design version with the Iron Farm Planner.
9. The zombie does not scare the villagers
A zombie that burns in daylight, despawns, or lacks line of sight will not trigger panic.
- Give the zombie a name tag so it does not despawn, and shade it from daylight.
- Keep it close enough to be seen without being able to attack the villagers.
- On Peaceful, the zombie will disappear, which ends the farm.
10. Iron golems spawn outside the kill chamber
Golems spawn in a volume around the villagers. If any valid spawning block lies outside the drop area, golems appear there and wander off.
- Cover outside surfaces in the spawning range with blocks golems cannot spawn on, such as glass, slabs or carpet when your design allows.
- Check that the intended spawning platform has enough headroom.
- Keep extra golems from accumulating; existing golems can affect new spawns.
11. Crops are not growing or grow very slowly
Crops such as wheat, carrots, potatoes and beetroots need light level 9 or higher at the crop to grow and depend on random ticks.
- Add torches or other light sources for underground and night farms.
- Stay within the simulation distance; crops do not grow in unloaded chunks.
- Use the Farm Efficiency Calculator to compare layouts before rebuilding everything.
12. Farmland is dry or keeps turning back into dirt
Farmland is hydrated by water within four blocks horizontally on the same level or one block above. Dry farmland can revert, and jumping on farmland tramples crops.
- Use one water source to hydrate a 9 by 9 area by placing it in the center.
- Avoid jumping on farmland; mobs can trample it too.
- Cover water with a slab or lily pad so players do not fall in.
13. Villager crop farms are not harvesting
Farmer villagers harvest and replant mature crops, and they need the farmer profession, usable composter access and a reachable farm. Inventory and pathing issues can stop them.
- Place a composter so the villager becomes a farmer.
- Make sure the villager can physically reach the crops and is not blocked by fences or height changes.
- Collect thrown items with hoppers or hopper minecarts beneath the farmland design.
14. Hoppers are clogged, slow or pointed the wrong way
A hopper moves 2.5 items per second. It stops when it receives a redstone signal, and it only outputs where its nozzle faces.
- Check each hopper's direction while sneaking to place it against containers.
- Look for stray redstone power, including powered blocks and nearby torches, that locks hoppers.
- Add parallel hopper lines when a farm produces faster than a single line can carry.
15. Storage is full
When chests fill, hoppers back up and items stay on the ground. The farm looks broken even though it is producing fine.
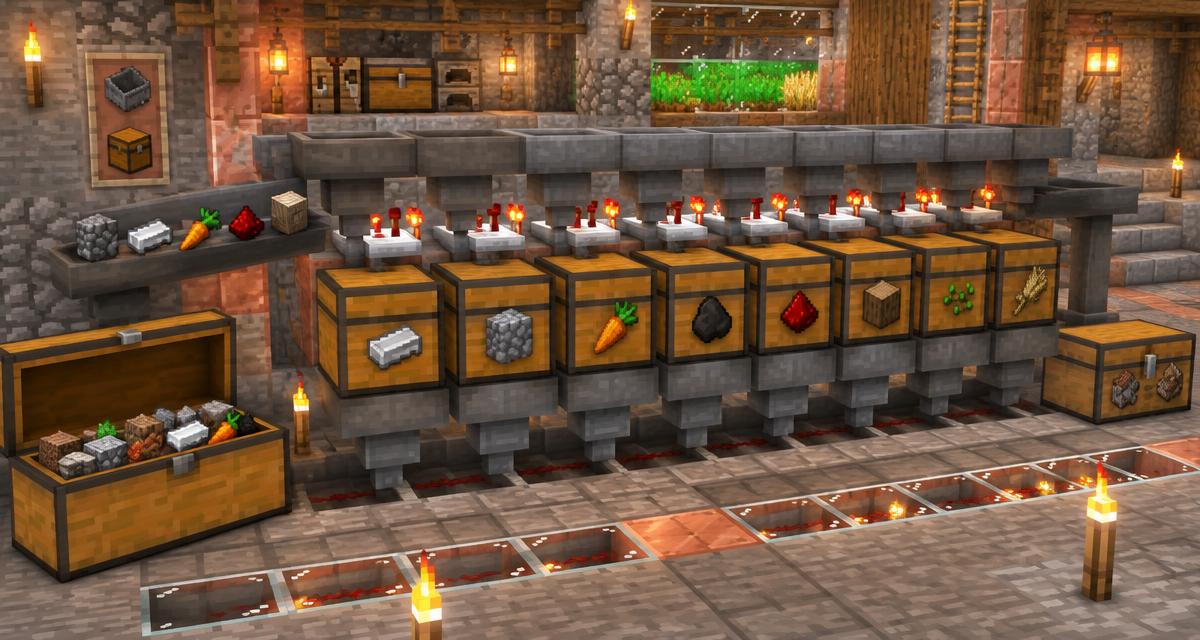
- Add overflow storage or an item sorter that sends excess to a separate chest.
- Use the Storage System Planner and Item Sorter Designer to size storage before you build.
16. Items despawn before collection
Dropped items normally despawn after five minutes if they are in a loaded chunk.
- Put collection hoppers directly beneath kill or harvest areas.
- Use water streams that carry drops to hoppers quickly.
17. Redstone timing or observer orientation is wrong
Clocks that run too fast can break pistons and machines, while a backward observer never detects growth.
- Observer faces point to the block they watch; the back outputs the signal.
- Use a slower clock when pistons or dispensers miss pulses, and check repeater delays.
- The Redstone Clock Calculator converts repeater settings into timing.
18. Sugar cane, cactus or bamboo breaks unexpectedly
Plant farms follow special placement rules. Sugar cane needs water directly adjacent to its base block. Cactus breaks if a solid block is placed beside it and can destroy items that touch it.
- Keep the water channel next to every sugar cane base block.
- Leave open spaces around cactus, or use the breaking rule deliberately.
- Make sure collection hoppers sit under the drop path, not under cactus that can destroy items.
19. You copied a Java design in Bedrock, or the reverse
Java and Bedrock handle redstone, mob spawning, villager behavior and hoppers differently. A design can work perfectly in one edition and fail in the other.
- Check the edition named in the tutorial before building.
- Prefer simple designs with edition notes when you play on crossplay servers.
20. The tutorial is outdated or the server changed the rules
Updates such as Java 1.18 light changes and 1.20.5 spawn chunk changes broke older designs. Servers may also run plugins, entity limits, mob stacking or lowered simulation distances.
- Compare the tutorial version with your version.
- Ask server staff about plugins and entity limits before building large farms.
- Use the Server Config Validator if you run your own server and want to review its settings.
Mob farm vs crop farm vs iron farm: what usually breaks
- Mob farms: spawning distance, light, mob cap, spawnable blocks and despawning.
- Crop farms: light level 9, hydration, random ticks and chunk loading.
- Iron farms: villager sleep, zombie visibility, spawning volume and nearby villages.
- All farms: hoppers, storage, redstone and version differences.
Prevent farm failures before you build
Plan the farm on paper first. Decide where you will stand, how items will travel and how much storage you need. Free MineBuildr tools help you test the plan before you spend hours gathering materials:
- Mob Farm Planner: /tools/mob-farm-planner
- Iron Farm Planner: /tools/iron-farm-planner
- Farm Efficiency Calculator: /tools/farm-efficiency-calculator
- Storage System Planner: /tools/storage-system-planner
- Item Sorter Designer: /tools/item-sorter-designer
- Redstone Clock Calculator: /tools/redstone-clock-calculator
- Server Config Validator: /tools/server-config-validator
For background reading, see our guides to mob farms and item sorters on the MineBuildr blog.
Sources and further reading
- Minecraft Wiki, Mob spawning: https://minecraft.wiki/w/Mob_spawning
- Minecraft Wiki, Iron Golem: https://minecraft.wiki/w/Iron_Golem
- Minecraft Wiki, Crops and Farmland: https://minecraft.wiki/w/Farmland
- Minecraft Wiki, Hopper: https://minecraft.wiki/w/Hopper
- Minecraft Wiki, Tick and random ticks: https://minecraft.wiki/w/Tick
- Minecraft Wiki, Java Edition 1.20.5 spawn chunk changes: https://minecraft.wiki/w/Java_Edition_1.20.5
- Minecraft.net snapshot notes on simulation distance: https://www.minecraft.net/en-us/article/minecraft-snapshot-21w38a
Game mechanics change between updates. Always check notes for your version and edition.
Give your next ambitious build a better workflow
A dependable network starts with a clear plan. Keep the surrounding build organized with Premium, from the first terminal room to your next server project.
- Saved Workshop projects to return to as your design evolves
- Priority AI generation for build concepts and material planning
- Supported schematic and HD / 4K exports
- Advanced server tools for configuration and permissions
Compare current prices and billing options before checkout. Features depend on the tool and export format. Premium does not provide internet connectivity or certify redstone circuits. Core tools remain free. Review the Terms and Refund Policy.