Want your iron farm to turn ingots into blocks while you explore? The Crafter is Minecraft's vanilla answer to automatic crafting. This guide starts with the exact recipe, then builds from a one-button test to a practical hopper-fed machine. The important distinction is simple: the Crafter holds a recipe-shaped grid, but it only crafts when redstone changes from off to on. No mods are required in Java or Bedrock editions that include the 1.21 Tricky Trials update. See Mojang's introduction to the Crafter for the official overview.
Minecraft Crafter recipe: exact ingredients and grid
Gather five iron ingots, one crafting table, one dropper and two redstone dust. Open an ordinary crafting table and place the ingredients in these exact positions:
- Row 1: iron ingot | iron ingot | iron ingot
- Row 2: iron ingot | crafting table | iron ingot
- Row 3: redstone dust | dropper | redstone dust
The dropper itself needs seven cobblestone and one redstone dust, so if you are gathering everything from scratch, plan for seven cobblestone and three redstone dust total, plus the five iron ingots and the wood for a crafting table. The Crafter recipe is documented by Minecraft's official guide and the Minecraft Wiki's Crafter reference. Do not confuse the dropper with a dispenser; their recipes and behavior differ.
How to use a Crafter for the first time
- Place the Crafter with its output face pointing toward the space where you want the product to land. Put a chest against that face if you want items collected automatically.
- Open its nine-slot grid. Arrange the ingredients exactly as you would in a crafting table. The result preview tells you whether the current grid makes a valid recipe.
- Click any unused slot while it is empty to disable it. A disabled slot is marked and cannot accept items from a hopper. Click it again to re-enable it when you switch recipes.
- Connect a button and press it. A fresh redstone signal makes the Crafter perform one craft and eject the output from its front.
- Wait for the signal to turn off before pressing again. If you want continuous production, give it separate pulses with a clock or a ready-grid detector.
Start with a single manual test before connecting hoppers. If the output goes behind your collection chest, turn the Crafter around. If nothing appears, check the result preview and try a fresh button press after the signal has gone off. Minecraft Wiki's Crafter tutorial describes how signals, hoppers and output interact.
Build a simple hopper-fed auto-crafter
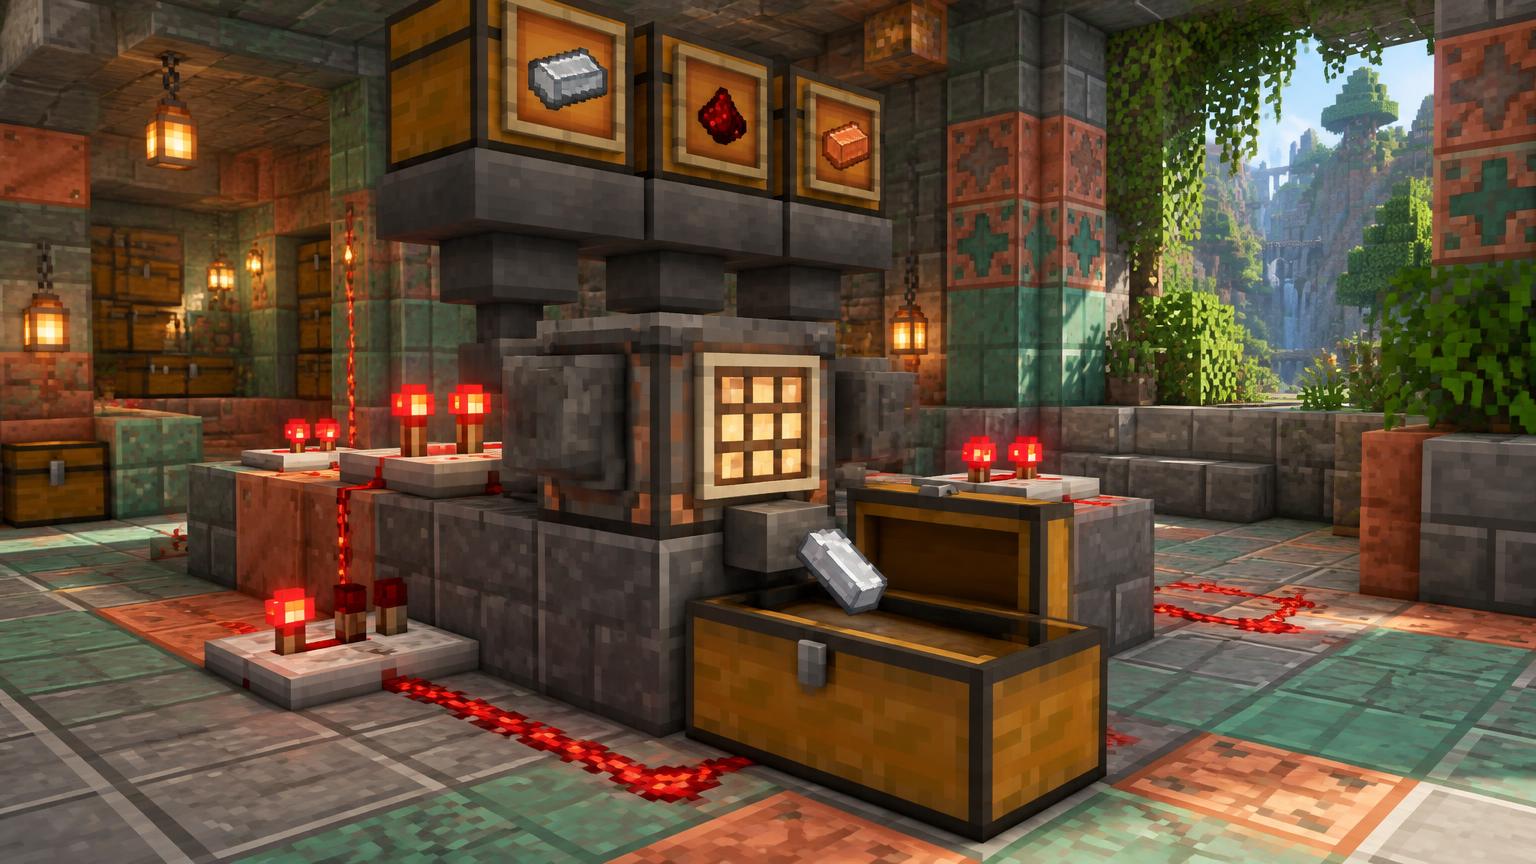
A practical starter machine has four parts: an ingredient chest, a hopper feeding into the Crafter, a pulsing redstone source and an output chest against the Crafter's front. Build it in this order so each stage is easy to test.
- Place an output chest, then place the Crafter so its front faces directly into that chest. Test with a button first to confirm the output reaches the chest.
- Put a hopper into the Crafter from above or the side, and put an ingredient chest above that hopper. Check the hopper's spout points into the Crafter, not into another block.
- Set the Crafter's grid for one recipe. Disable unused slots if needed. For a simple nine-item recipe such as an iron block, leave all nine slots enabled and feed only iron ingots.
- Pulse the Crafter with a button to verify one item arrives in the output chest. Only after that, replace the button with a clock or a circuit that triggers when the grid is ready.
- Let the machine run for a short batch and inspect both chests. If a wrong item appears, stop the clock, clear the grid and revisit the slot layout before restarting.
Redstone pulses, comparators and timing
A lever that stays on does not make a stream of items. Each new off-to-on redstone transition tells the Crafter to try one craft. A button is ideal for testing; a clock sends repeated transitions for continuous operation. Slow the clock until the hopper can refill the grid between pulses, especially if an incomplete grid could produce a different item.
For a smarter trigger, read the Crafter with a comparator. Its output strength equals the number of slots that are occupied or disabled, from zero through nine. For example, disabling six slots for a three-slot recipe starts the signal at six; when the three enabled slots are occupied, it reaches nine. A threshold circuit can pulse only when the grid reaches the expected state. It does not tell you whether the ingredients are correct or whether a slot holds one item versus a stack. Compare the Crafter tutorial with Mojang's explanation of comparators before wiring a larger system.
Why does the Crafter make the wrong item?
The most common failure is pulsing before all ingredients arrive. A partially filled grid can already match another recipe. For example, a machine intended to pack nine ingots into a block can craft a different iron item if the signal fires with too few ingots. Keep the ingredients uniform for your first machine; for complex recipes, separate ingredient feeds and delay the pulse until the grid is complete. The Minecraft Wiki tutorial also warns that uneven hopper feeding can misfire for recipes with multiple possible outputs.
Crafter troubleshooting checklist
- No output: verify that the displayed result is a valid recipe and that the Crafter received a new pulse rather than continuous power.
- Items are on the floor: rotate the Crafter so its output face points into the receiving chest and make sure that chest has space.
- Hopper stops feeding: make sure it points into the Crafter, has ingredients and is not locked by adjacent redstone power.
- Wrong recipe appears: remove stray items, check the recipe shape and disable genuinely unused slots while they are empty.
- Only the first item crafts: a button must reset between presses; for repeated crafts use a clock that actually toggles off and on.
- Comparator reads full but nothing crafts: a full signal counts disabled slots too; check that the remaining occupied slots form a valid recipe and that your circuit sends a pulse.
Best projects to automate next
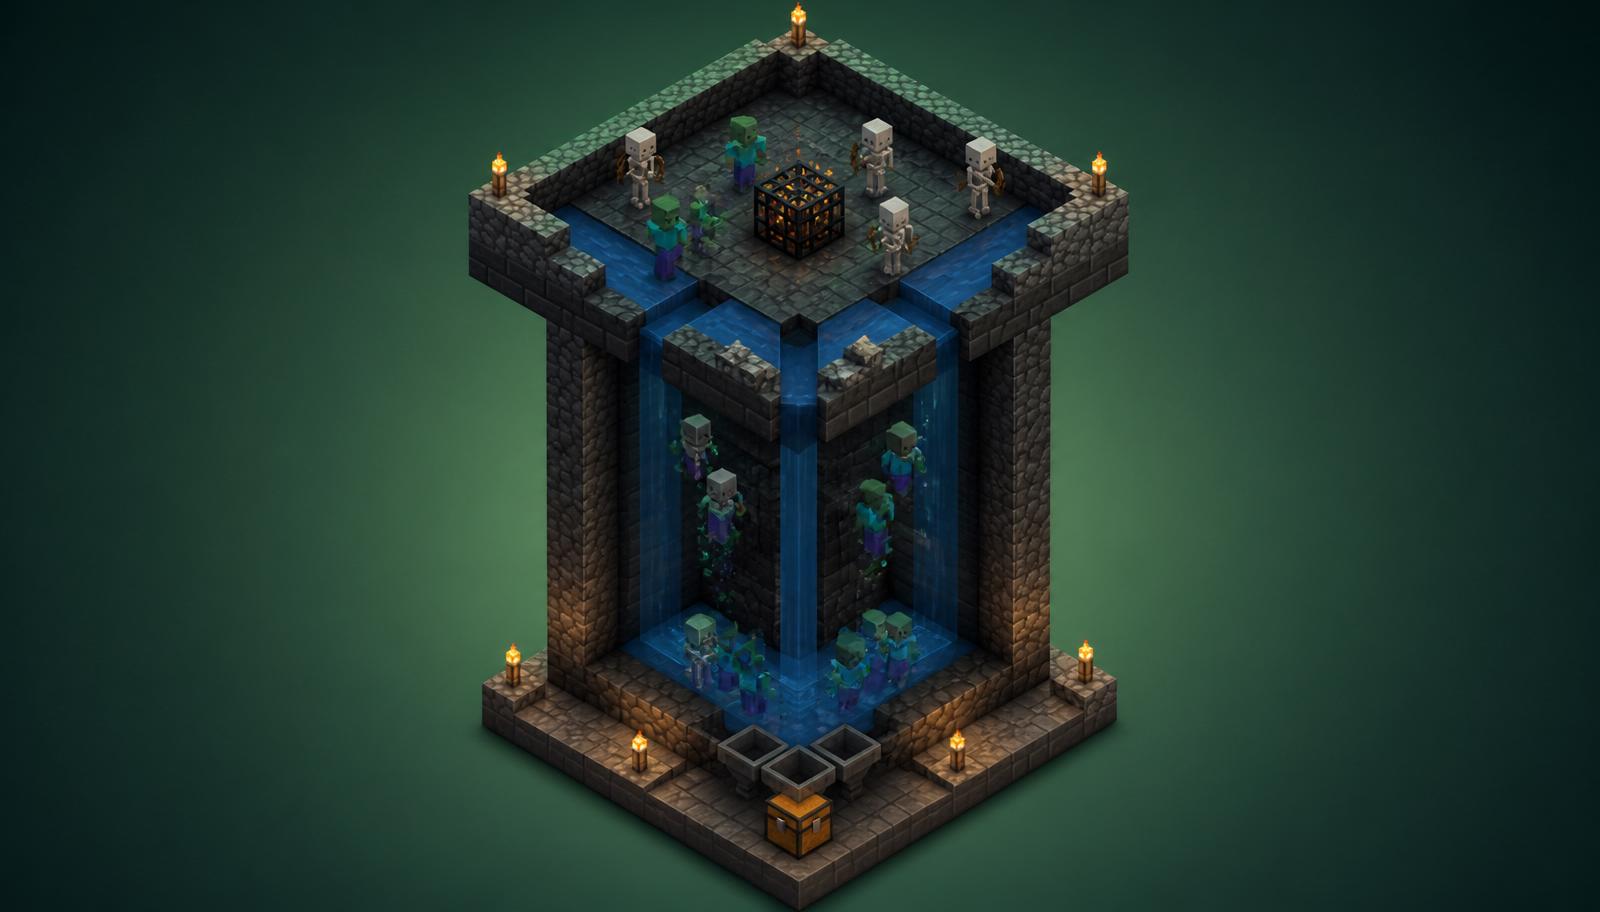
Once the iron-block test works, connect a storage line to keep bulk resources compact. For a larger room, use the Storage System Planner to estimate chests and hoppers, then the Item Sorter Designer to route farm drops into separate input lines. A mob farm guide can help you plan a steady resource supply. Keep a collection chest on every output so you can inspect the results before connecting more machines.
Sources and version notes
The Crafter arrived in the Minecraft 1.21 Tricky Trials release. Recipe and introductory behavior come from Minecraft's official Crafter guide; slot handling, signal behavior and automation caveats are cross-checked against the Minecraft Wiki Crafter reference and Crafter tutorial. Redstone timing can vary with your circuit and edition, so test a small batch in your own world before leaving a machine unattended.