Everything in Minecraft is a cube, which is exactly why circles are hard. The game has no round blocks, so a circle is really a staircase of pixels that fools the eye from a distance. Get the pattern right and a tower, well or lighthouse looks smooth and intentional; get it wrong and it looks like a lopsided octagon. This guide explains how circle generators work, gives you the most-used circle patterns as a chart, and shows how to turn flat rings into towers, domes and full spheres.
What a Minecraft circle generator actually does
A circle generator is a simple pixel-plotting tool. You give it a diameter in blocks, and it runs the same midpoint circle algorithm that old graphics programs used, snapping a mathematical circle onto a square grid. The output is a top-down diagram where each filled square is one block you place in the world.
- Input: a diameter (or separate width and height for ovals), sometimes a line thickness or filled vs outline mode.
- Output: a grid showing exactly which blocks to place, usually with row widths you can count off.
- No mods, no downloads and no account: it runs in a browser tab and never touches your game, so it is allowed everywhere including strict vanilla servers.
- Identical results on Java Edition and Bedrock Edition, because a block is one meter in both.
Most generators offer three modes. Outline mode draws just the ring, which is what you want for tower walls and wells. Filled mode gives a solid disc for floors, arenas and crop circles. Thick mode draws a band two or three blocks deep, useful for roads, racetracks and the walls of round rooms you plan to hollow out.
The odd vs even diameter rule
This is the detail that trips up almost everyone on their first circle. The diameter you choose decides where the center of the build sits, and if you mark the wrong center the entire ring shifts one block sideways.
- Odd diameters (5, 7, 9, 11 and so on) have a single center block. The circle is symmetrical around that one block, which makes odd sizes ideal for towers with a centered staircase or a single middle pillar.
- Even diameters (6, 8, 10, 12 and so on) have a 2x2 center. Nothing sits exactly in the middle, which is why even-sized round rooms feel slightly off when you put one door or one chandelier in the center.
- Practical rule: pick an odd diameter when the build needs a true middle (lighthouses, wells, spiral stairs), and an even diameter when you want a wide flat interior or a 2-block-wide doorway on each axis.
Minecraft circle chart: sizes 5 to 12
These are the classic outline patterns used by every major generator. Each number is how many blocks wide that row is, from the top of the circle to the bottom. Build the middle row first, then mirror upward and downward.
- Diameter 5: 3, 5, 5, 5, 3. The smallest circle that reads as round. Perfect for wells and small towers.
- Diameter 6: 2, 4, 6, 6, 4, 2. Even diameter, so the middle two rows sit either side of a 2x2 center.
- Diameter 7: 3, 5, 7, 7, 7, 5, 3. The most popular small tower size; fits a ladder or spiral stair inside.
- Diameter 8: 4, 6, 8, 8, 8, 8, 6, 4. A roomy round room with flat-ish sides for doors.
- Diameter 9: 3, 5, 7, 9, 9, 9, 7, 5, 3. Smooth curve, centered interior, great for a starter base rotunda.
- Diameter 10: 4, 6, 8, 10, 10, 10, 10, 8, 6, 4. Wide enough for an enchanting setup in the middle.
- Diameter 11: 3, 5, 7, 9, 11, 11, 11, 9, 7, 5, 3. The classic lighthouse footprint.
- Diameter 12: 4, 6, 8, 10, 12, 12, 12, 12, 10, 8, 6, 4. Big enough for a full round great hall.
For anything larger, use a generator rather than memorizing patterns, because the row steps stop being regular above size 12. The pixel art generator doubles as a handy way to preview any round design block by block before you commit resources in survival.
How to use a circle generator step by step
- Decide the diameter. Measure the space the build must fit, and remember the diameter is the full width including walls.
- Choose odd or even based on whether you need a single center block.
- Pick outline, filled or thick mode depending on whether you are building a wall, a floor or a road.
- In game, place the center marker: one block for odd, a 2x2 square for even.
- Build the widest middle row first, counting blocks from the center outward on both sides.
- Work row by row toward the top, then mirror the same rows toward the bottom. Check symmetry every two rows.
- Step back at least 20 blocks and look. Circles only read as round from a distance, so judge the shape from where players will actually see it.
From circles to towers, domes and spheres
A flat ring is only the beginning. Almost every impressive round build in Minecraft is the same circle maths applied vertically.
Towers and lighthouses
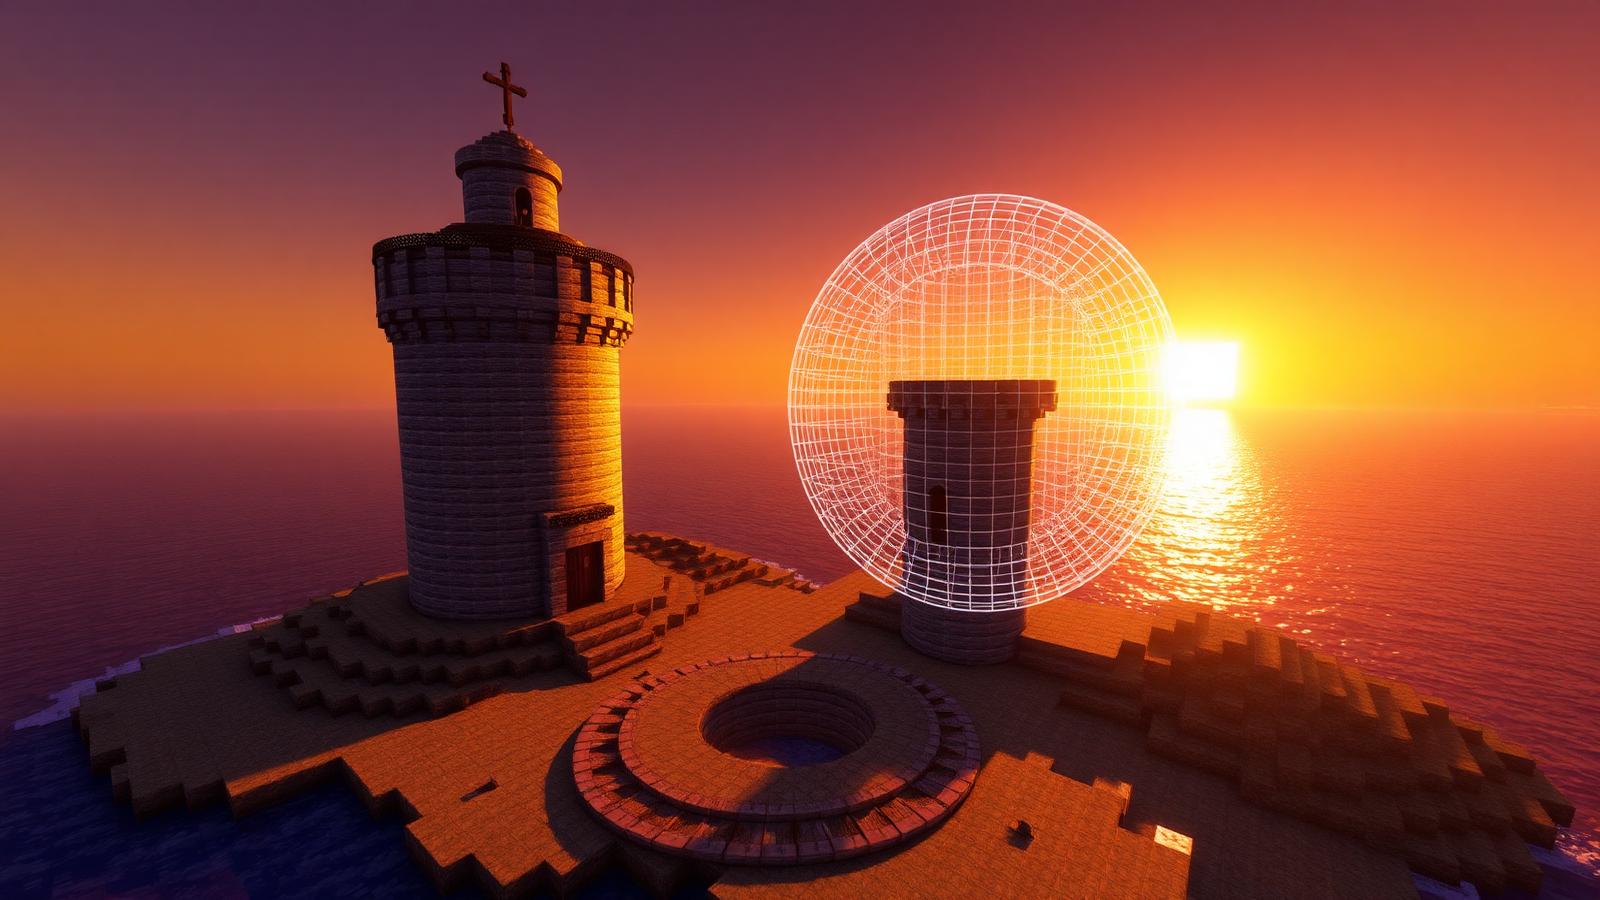
Stack the identical ring every layer. A diameter-7 or 11 outline repeated 20 to 40 layers high is the standard lighthouse or wizard tower shaft. Vary the wall block every few layers or add a ring of stairs at the top for a battlement, and the simple cylinder stops looking plain. Plan the interior before you build up: a diameter-7 tower fits a ladder column, diameter 11 fits a proper spiral staircase.
Domes
A dome is the top half of a sphere sitting on a cylinder. Generate a circle for the base diameter, then generate smaller circles for each layer going up. The rule of thumb: for a dome of radius r, the layer at height y has radius equal to the square root of (r squared minus y squared). In practice you just ask the generator for each shrinking diameter and stack them. A diameter-15 dome typically steps 15, 15, 13, 13, 11, 9, 7, 5, 3 from base to cap.
Spheres
A sphere is a dome mirrored downward. Build from the widest middle layer, shrink each layer going up to the top cap, then repeat the same shrinking sequence going down. Sphere generators output the layer list directly, which saves the maths. Hollow spheres make stunning planetarium builds, aquariums and floating sky bases; fill only the shell and leave the inside empty to save thousands of blocks.
Ovals and ellipses
Set different width and height values and the same algorithm stretches the circle into an ellipse. Ovals are the secret behind natural-looking lakes, racing tracks, amphitheaters and airship hulls. A 21 by 13 oval reads as a graceful pond; the same trick at 60 by 24 makes a stadium.
How many blocks does a circle cost
For planning a survival build, the outline of a circle of diameter d uses roughly 3.1 times d blocks per layer, matching the circumference formula pi times d. A filled disc uses about 0.785 times d squared blocks, the area formula. That means a diameter-30 tower wall costs about 95 blocks per layer, and a filled diameter-30 arena floor costs about 700 blocks. Multiply the per-layer cost by the height before you start mining, and use the beacon calculator if you plan to light the finished build with a beacon pyramid.
The best builds for circles
- Lighthouses and watchtowers: odd diameter 7 to 11, stacked outline rings.
- Wells and fountains: diameter 5 outline with a water source in the single center.
- Round bases and rotundas: diameter 9 to 15 filled floors with outline walls.
- Domes on castles and cathedrals: shrinking layer sequence over a square or round drum.
- Arenas and racetracks: large ovals in thick mode, two or three blocks wide.
- Crop circles and garden layouts: filled small circles for efficient farmland around one water block.
- Sphere decorations: hollow spheres as planets, balloons or floating islands in the sky.
If you want the whole structure designed for you rather than assembling rings by hand, the castle generator and house planner both produce round towers and curved walls with full material lists, and the AI build generator can turn a prompt like round elven tower with a domed roof into a complete plan.
A circle in Minecraft is never truly round. It is a promise you make to the viewer's eye, and the generator is how you keep it.
Common circle mistakes to avoid
- Miscounting the center: always mark it first and count both axes before placing the ring.
- Mixing up diameter and radius: generators ask for diameter, the full width. Entering the radius doubles your build.
- Judging the shape up close: a correct circle looks jagged at arm's length. Check it from 20 or more blocks away.
- Forgetting door placement: even diameters give you clean 2-wide doorways on the flat sides; odd diameters force single doors.
- Building a dome by eye: the shrinking layers are not intuitive, and one wrong layer ruins the curve. Generate each layer.