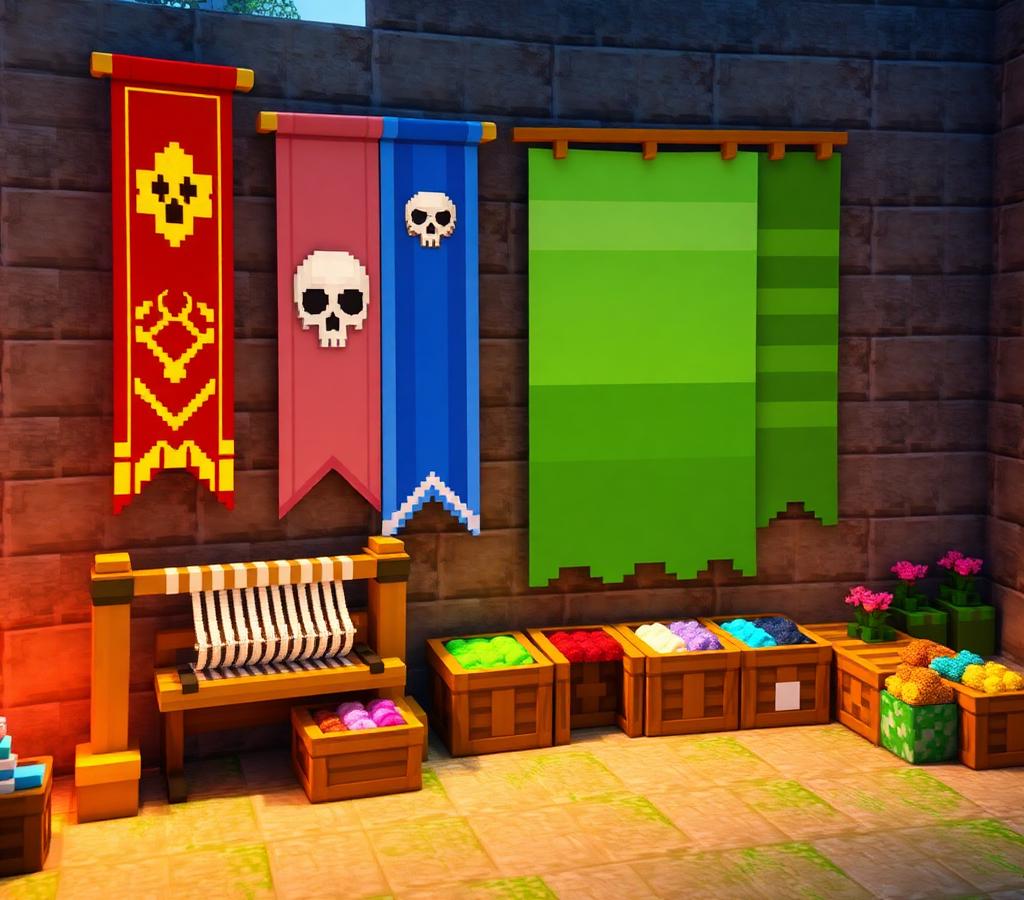
Banners are Minecraft's flag system — tall decorative hangings you can dye, pattern, mount on walls, copy onto shields, and plant as map markers. A blank banner takes seconds to craft, but designing a good one is where players get stuck: there are more than 40 patterns, 16 dye colors, and up to 6 layers per banner, which works out to more possible combinations than anyone can hold in their head. That is exactly what a banner maker is for. This guide covers how banners and the loom work, how to design with our free Banner Generator, the patterns worth knowing, and how to move your design onto a shield.
How banners work in Minecraft
A banner starts life as 6 wool of a single color arranged in the top two rows of a crafting grid with 1 stick below the center — the recipe makes one banner in that wool's color. From there, every modification happens at a loom: place the banner in the first slot, a dye in the second, and optionally a banner pattern item in the third, then pick a shape from the loom's list. Each application adds one layer on top of the previous design.
- Base banner: 6 wool (any one color) + 1 stick
- Loom: 2 string + 2 planks, used to apply pattern layers
- Maximum layers: 6 in normal survival play (Java Edition)
- 16 dye colors, all obtainable from flowers, plants, and common resources
- Special pattern items unlock rare shapes — creeper charge, skull charge, flower charge, globe, snout, flow, and guster
Using the free Banner Maker
Open the Banner Generator and you will see a live preview next to a layer stack. You build the design exactly the way the game does — base color first, then one pattern layer at a time — so what you see is precisely what you will craft.
- Pick the base banner color from the 16 wool colors
- Add a layer: choose any pattern and any dye color
- Reorder or delete layers until the preview looks right
- Read the generated recipe list — each step is one loom operation in order
- Copy a share link to send the design to friends or save it for later
The recipe output is the part most people underestimate. Instead of writing down 'white dye, then red triangle, then...' on a sticky note, you get an ordered checklist of loom operations. Follow it top to bottom at the loom and the banner in your hand matches the preview pixel for pixel.
The pattern vocabulary every designer should know
Minecraft's pattern list looks long, but almost every great banner is built from a handful of shapes. Learn these and the rest becomes variation.
Structural patterns
Stripes (vertical, horizontal, diagonal), borders, halves, and crosses divide the banner into color regions. These are your foundation layers — a border plus a center stripe already looks intentional.
Shapes and symbols
The roundel (circle), lozenge (diamond), triangle, and inverted triangle create focal points. Stacking a large shape under a smaller contrasting shape is the classic emblem technique — for example, a yellow roundel with a black roundel on top reads as a sun eclipse.
Special pattern items
- Creeper charge (creeper head) — the creeper face, the most iconic banner shape
- Skull charge (wither skeleton skull) — skull and crossbones for pirate builds
- Flower charge (oxeye daisy) — a soft flower silhouette
- Globe (cartographer villager trade) — a world map disc
- Snout (piglin bastion loot) — the piglin snout, perfect for Nether themes
- Flow and guster (trial chambers) — newer 1.21 patterns with wind and spiral motifs
Gradient and fade tricks
The gradient patterns (top, bottom, and full fade) blend a color across the banner. A gradient applied late in the layer stack can unify a busy design; applied early, it sets a moody background for symbols on top. Bricks and curved border patterns add texture that reads well from a distance.
Five design rules that make banners look professional
- Limit yourself to 2 or 3 colors per banner — more turns to mud at viewing distance
- Put the boldest shape last so it sits on top and stays crisp
- Use high contrast: dark symbols on light bases, or the reverse
- Design for distance — if you cannot tell what it is from 20 blocks away, simplify
- Match your build palette: pull 1 or 2 colors from the structure the banner hangs on
The best Minecraft banners are the ones you can identify from across the render distance. A creeper face in two colors beats a muddy six-layer masterpiece every time.
Shields, map markers, and copying banners
A finished banner is more than wall decor. Combine it with a shield in a crafting grid and the design transfers onto the shield face — the classic way to carry a faction emblem into a fight (Java Edition only). Place a banner on the ground and right-click it with a map, and the banner becomes a labeled waypoint marker on that map, which makes colored banners a genuinely useful navigation system for bases, farms, and portals.
To duplicate a design, craft the finished banner together with blank banners of the same base color — one patterned banner plus blanks yields matching copies, so you never have to repeat 6 loom steps for every flag on your castle wall.
Popular banner ideas to start from
- Factions and teams: base color + border + single centered symbol in your team colors
- Medieval castles: red or black base, yellow cross, and a top gradient
- Pirate ships: black base with a skull charge, optionally a white border
- Shops and towns: bright base with a roundel — reads like a shop sign from the road
- Nether and End builds: purple or black base with gradient and snout or flow patterns
- Country and flag recreations: stripes and crosses do most national flags in 3 layers
If you want more inspiration, browse our Banner Pattern Library for a complete visual index of every pattern, or read the banner design guide for deeper composition theory.
More free tools for decorators
The Banner Generator is one of more than 50 free Minecraft tools on MineBuildr. Pair it with the Shield Generator to preview your banner on a shield, the Color Codes tool for matching text and MOTD colors on servers, and the Pixel Art Generator when you are ready to scale an emblem up into a full mural. See the full list in our free Minecraft tools guide.