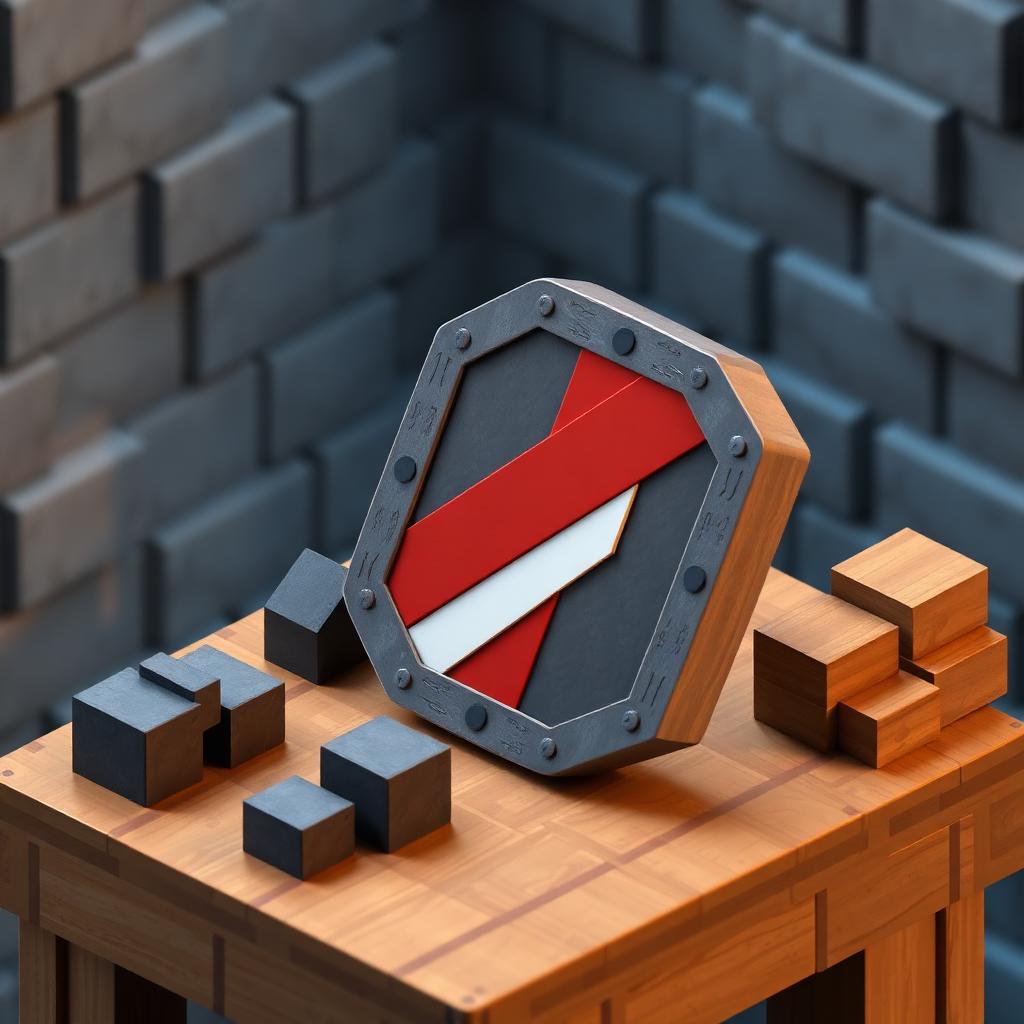
The shield is the single biggest survivability upgrade in early-game Minecraft. It blocks arrows, creeper explosions, pillager crossbow bolts, and Warden sonic booms if timed correctly — all for the cost of 6 planks and one iron. This 2026 guide covers the exact recipe, every mechanic (blocking angles, disable timings, axe interactions), how to add a custom banner design, durability and repair, and the best shield strategies for raids, the Nether, and PvP. Pair this with our bed crafting guide for a full day-one survival kit.
The shield recipe (Java & Bedrock)
The recipe uses 6 planks of any single wood type and 1 iron ingot. You can mix wood types on Bedrock in some versions, but stick to one wood on Java.
Crafting grid layout
- Row 1 (top): plank, plank, plank
- Row 2 (middle): plank, iron ingot, plank
- Row 3 (bottom): empty, plank, empty
That's 6 planks arranged like a Y with an iron ingot in the center. The recipe is shaped, so the layout matters — you cannot rearrange the planks. Output is 1 shield with 336 durability.
How to gather the materials fast
Planks (any wood type)
Chop 2 logs and craft them into 8 planks — you only need 6 for the shield. Oak, spruce, birch, jungle, acacia, dark oak, cherry, mangrove, bamboo, and crimson/warped stems all work.
Iron ingot
- Mine iron ore (found from y=-64 to y=72, most common around y=15) with a stone pickaxe or better and smelt it in a furnace.
- Trade 4 emeralds for 4 iron ingots with an apprentice-level armorer villager — reliable once you have a trading hall.
- Raw iron blocks smelt in blast furnaces at 2× speed; use one if you have coal to burn.
- Iron golem farms provide 40+ ingots per hour if you're playing long-term.
How to use a shield
Shields go in your off-hand (the small slot to the left of your hotbar). Press F (Java default) to swap the item in your off-hand with your main-hand item, or drag it directly in your inventory.
Raising the shield
- Java Edition: hold right-click (use item) to raise the shield. There is a short 5-tick (0.25s) startup delay before it starts blocking.
- Bedrock and Console: sneak (crouch) to raise the shield automatically — you don't need to hold the use button. This makes movement while blocking easier.
- You can walk while blocking, but you're slowed and cannot sprint, attack, or use items until you lower the shield.
What a shield blocks
- 100% of frontal melee damage from zombies, skeletons, spiders, and most hostile mobs.
- Arrows, tridents, snowballs, eggs, ender pearls, and fireballs from ghasts and blazes.
- Creeper explosion damage from the front — you'll still get knocked back but survive at nearly full health.
- Warden sonic booms (this is the only reliable way to survive back-to-back Warden attacks).
What a shield does NOT block
- Any attack from behind or the sides — the arc is roughly 100° in front of you.
- Fire tick damage after you're set on fire (though the initial hit is blocked).
- Splash and lingering potion effects.
- Falling damage, fall block damage (anvils, stalactites), and drowning.
- Magic damage from evoker fangs and guardian lasers.
The axe disable — the most important shield mechanic
Any axe attack has a chance to disable your shield when blocked. On Java, a regular axe attack has a 25% disable chance; a sprint-attack (crit) axe hit is nearly guaranteed. A disabled shield cannot be raised again for 5 seconds — the icon greys out and shows a cooldown sweep. This is the reason vindicators and pillagers are dangerous even to armored players.
Adding a banner design to your shield
Custom shield banners are one of the most iconic personalizations in Minecraft — and they're purely cosmetic, not stat-affecting.
- Craft a banner with 6 wool and 1 stick (see our banner pattern library for the recipe).
- Add patterns to the banner using a loom with dyes.
- Once your banner is finished, place the shield and the banner (any two crafting slots) in a crafting table. The banner is consumed and its full pattern set transfers to the shield.
The shield keeps every pattern layer, up to the standard 16-layer limit. You can preview and export designs with our Banner Generator before farming the dyes.
Shield durability, repair, and enchantments
Durability
A shield has 336 durability. Every hit blocked consumes durability equal to the damage that would have been dealt, rounded up to a minimum of 1. Big hits (creeper explosions, sprint-crit axe hits) can chew through 15+ durability at once.
Repair
- Combine two damaged shields in a crafting grid — the result has combined durability plus a 5% bonus.
- Anvil-repair with planks: any single plank restores 25% durability. This preserves the banner design.
- Mending is the long-term solution — any XP orbs pick up after equipping will regenerate durability.
Enchantments
- Unbreaking I–III (books only): 20%/27%/30% chance to skip durability loss per hit.
- Mending (book): repair via XP orbs. Books drop from librarians, fishing, and raid rewards.
- Curse of Vanishing and Curse of Binding are cosmetic curses only.
The Anvil is your shield's best friend — see our enchanting calculator to plan XP costs before merging books.
Advanced shield tactics
Skeletons and pillagers
Strafe toward skeletons while shield-raised — they lead their shots, so you can close distance safely and hit them from melee range.
Creepers
If a creeper starts hissing, raise your shield and back away. A shielded creeper explosion at point-blank range with iron armor typically leaves you at 6+ hearts.
The Warden
The Warden's sonic boom pierces walls but is blocked by a raised shield. If you must fight one, keep your shield up between melee swings — but running away is almost always the better play.
PvP
Shields dominate 1v1 melee: bait an axe crit, sidestep, and punish the disable window. On Bedrock, sneak-blocking lets you rotate faster than Java's held-right-click.
Shield vs sword blocking (legacy)
Before shields were added in 1.9, players blocked with swords for a 50% damage reduction. Sword blocking is completely removed on Java — the shield is the only block. On some Bedrock legacy modes and combat mods, sword blocking still exists but does far less than a shield.
Common mistakes to avoid
- Holding right-click on Bedrock — sneaking is the correct input; right-click just parries and can eat your food.
- Blocking against a diamond axe player without an escape route — get behind cover during the 5-second disable.
- Enchanting a shield with Thorns — it doesn't apply to shields. Save the book for armor.
- Ignoring the banner — it costs nothing extra to add and makes your shield instantly recognizable in multiplayer.
Next steps for early survival
A shield is one piece of a survival kit. Pair it with a bed for spawn-setting, a map for navigation, and a compass for locator maps. Once you've got iron, aim for full iron armor, an iron sword, and a shield — that's the loadout that safely carries you through Nether entry.